NAT Gateway
Navigation: Scenarios → NAT Gateway
Deploy the TOORCE Firewall as a NAT gateway between your internal LAN and the internet. LAN hosts use private addresses (192.168.100.0/24); outbound connections are translated to the WAN interface public IP using Source NAT (SNAT).
Network design
The diagram below shows a typical deployment: LAN clients behind enp6s0, a single WAN uplink on enp9s0, a default route to the ISP gateway, and an inline rule that performs SNAT using the outgoing interface address.
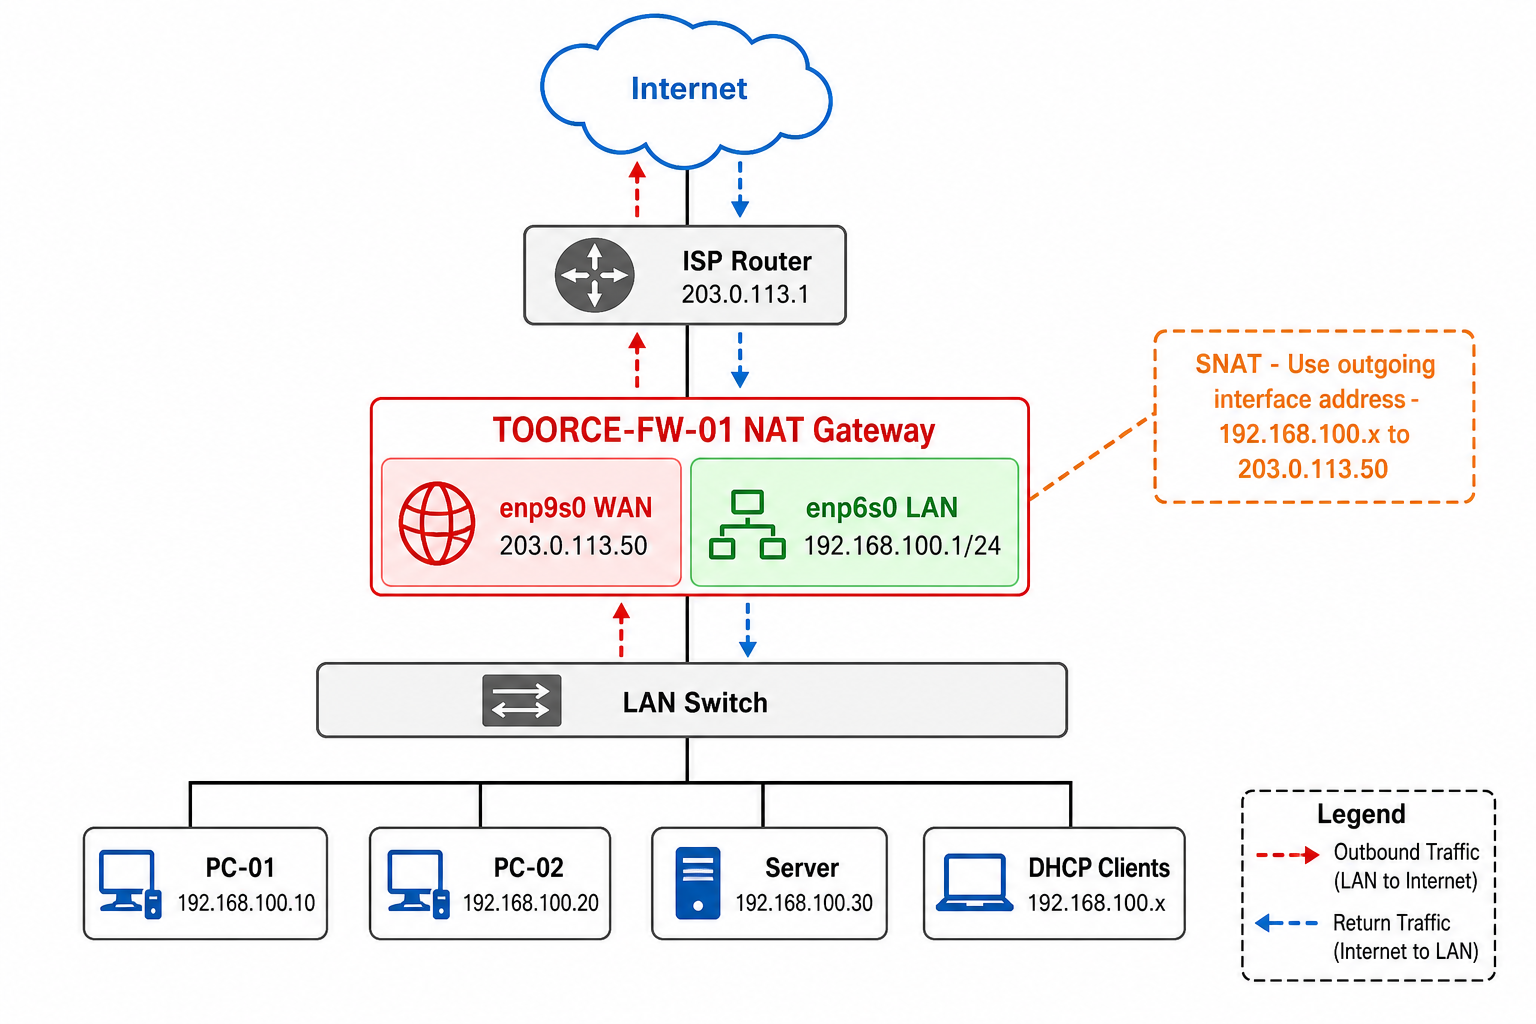
Figure 1 — NAT gateway topology (reference design)
Addressing summary
| Component | Interface | IP / network | Role |
|---|---|---|---|
| ISP router | — | 203.0.113.1 |
Default gateway on WAN |
| TOORCE Firewall | enp9s0 (WAN) |
203.0.113.50 or DHCP |
Public / upstream facing |
| TOORCE Firewall | enp6s0 (LAN) |
192.168.100.1/24 |
Internal gateway + DHCP |
| LAN clients | — | 192.168.100.0/24 |
Private workstations and servers |
Prerequisites
- Physical cables: ISP/router → WAN port, LAN switch → LAN port
- Admin access to the TOORCE web panel (
https://<firewall-ip>:10443) - Optional: create a LAN_Network address object for cleaner rules
Step 1 — Configure the LAN interface
- Go to Network Settings → Interfaces.
- Click Edit on the LAN interface (
enp6s0). - On the General tab:
| Field | Value |
|---|---|
| Alias | LAN |
| Zone | LAN (trusted) |
| Admin Status | Enabled |
- Open the Addressing tab:
| Field | Value |
|---|---|
| Address Mode | Static |
| IP Address | 192.168.100.1 |
| Subnet Mask / CIDR | 255.255.255.0 or /24 |
- (Recommended) On the DHCP Server tab, enable DHCP for LAN clients:
| Field | Example |
|---|---|
| DHCP Server | Enabled |
| Range Start | 192.168.100.100 |
| Range End | 192.168.100.200 |
| DNS Server | 192.168.100.1 or 8.8.8.8 |
- On Admin Access, enable HTTPS for management from the LAN only.
- Click Save.
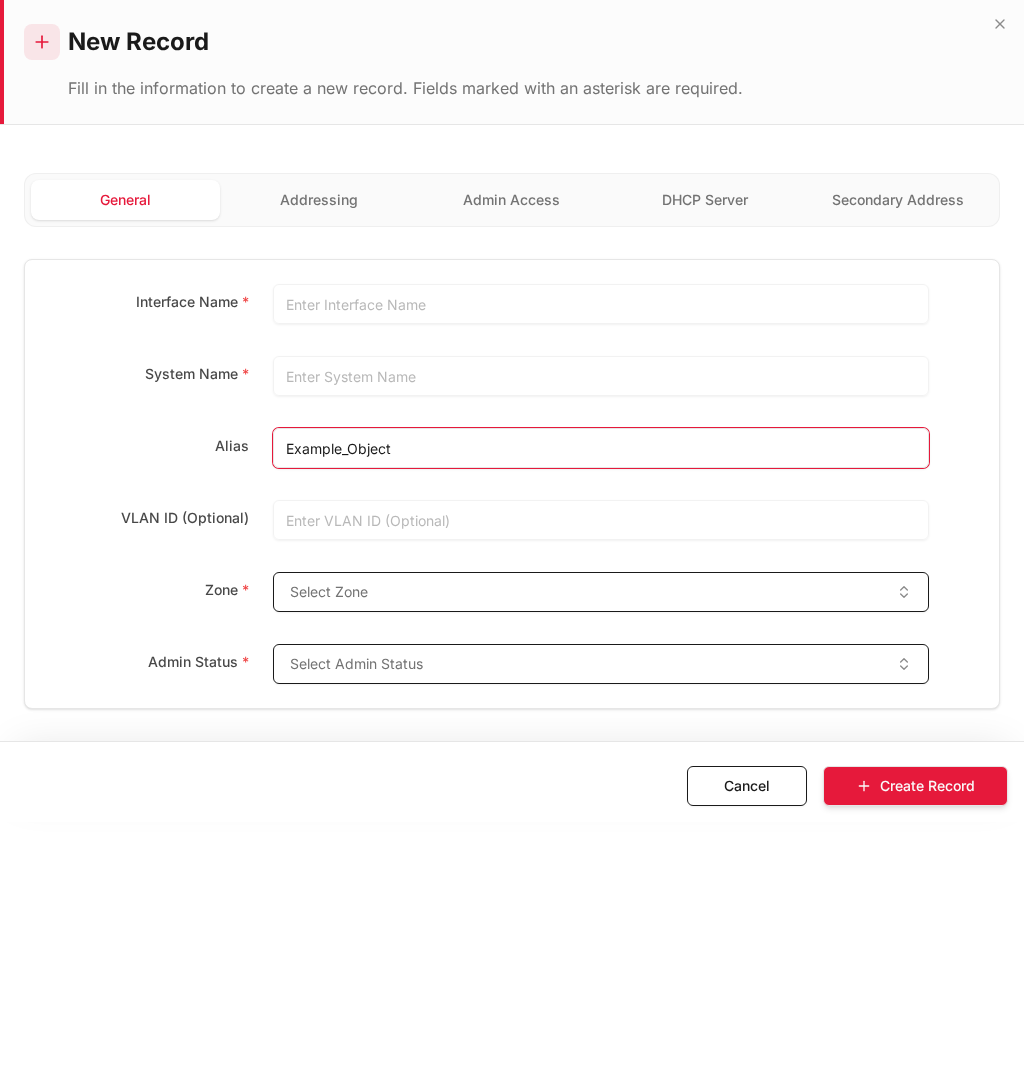
See Network Interfaces for full field reference.
Step 2 — Configure the WAN interface
- Go to Network Settings → Interfaces.
- Click Edit on the WAN interface (
enp9s0). - On the General tab:
| Field | Value |
|---|---|
| Alias | WAN |
| Zone | WAN (untrusted) |
| Admin Status | Enabled |
- On the Addressing tab, choose one:
| Mode | When to use | Example |
|---|---|---|
| DHCP client | ISP assigns IP automatically | Most broadband links |
| Static | ISP gave you fixed public IP | 203.0.113.50/24, GW 203.0.113.1 |
- Disable HTTP/HTTPS/SSH admin access on WAN (security best practice).
- Click Save.
Step 3 — Add the default route
The firewall needs a route to 0.0.0.0/0 so traffic destined for the internet is forwarded out the WAN interface.
- Go to Network Settings → Static Routs.
- Click + Add New.
- Enter:
| Field | Value |
|---|---|
| Route Name | Default_Internet |
| Destination Network | 0.0.0.0/0 |
| Gateway | ISP gateway, e.g. 203.0.113.1 |
| Outgoing Interface | enp9s0 (WAN) |
| Metric | 1 |
| Status | Enabled |
- Click + Create Record.
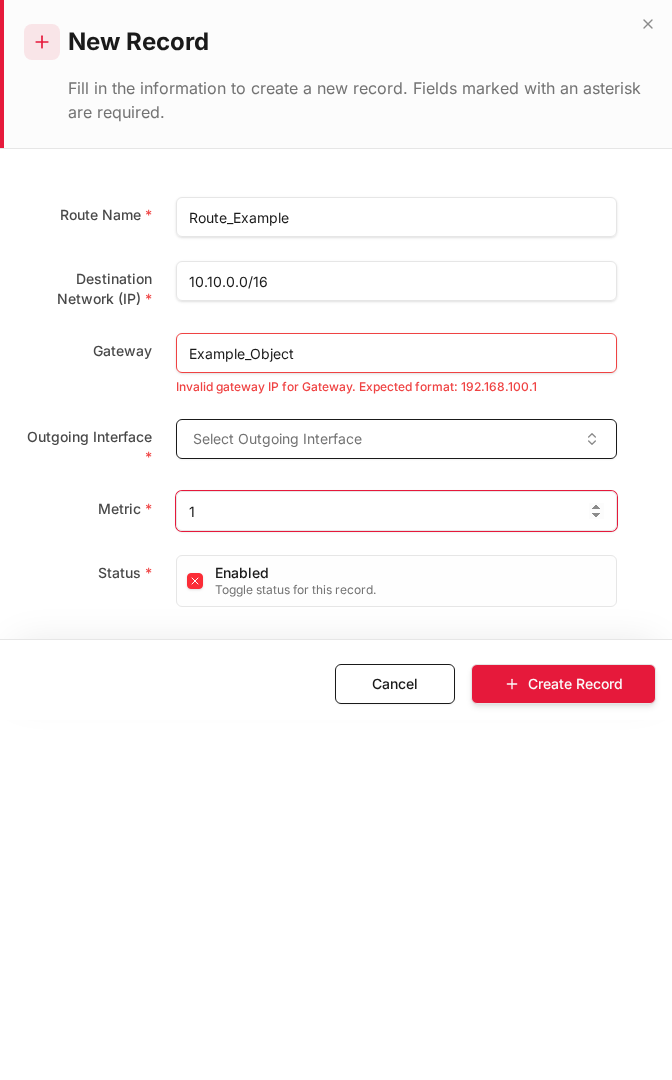
If WAN uses DHCP, the ISP gateway is often learned automatically — add this static route only if required in your environment. See Static Routes.
Step 4 — Create an inline rule with SNAT
This rule allows LAN → internet traffic and applies Source NAT using the WAN interface address.
- Go to Rules & Policies → Inline Rules.
- Click + Add New.
General tab
| Field | Value |
|---|---|
| Rule Name | LAN_to_Internet_NAT |
| Rule Type | Firewall (or NAT-enabled firewall rule) |
| Action | Allow |
| Status | Enabled |
Interfaces tab
| Field | Value |
|---|---|
| Source Interface | enp6s0 (LAN) |
| Destination Interface | enp9s0 (WAN) |
Source tab
| Field | Value |
|---|---|
| Source Address Objects | LAN_Network (192.168.100.0/24) or Any |
| Source Service/Port | Any |
Destination tab
| Field | Value |
|---|---|
| Destination Address | Any |
| Destination Service/Port | Any |
NAT/SDWAN tab
| Field | Value |
|---|---|
| Enable NAT / SNAT | Enabled |
| NAT type | Source NAT (SNAT) |
| Translated source address | Use outgoing interface address |
This setting rewrites the source IP of outbound packets from 192.168.100.x to the WAN IP (203.0.113.50), so return traffic from the internet can reach the firewall and be forwarded back to the correct LAN host (stateful inspection).
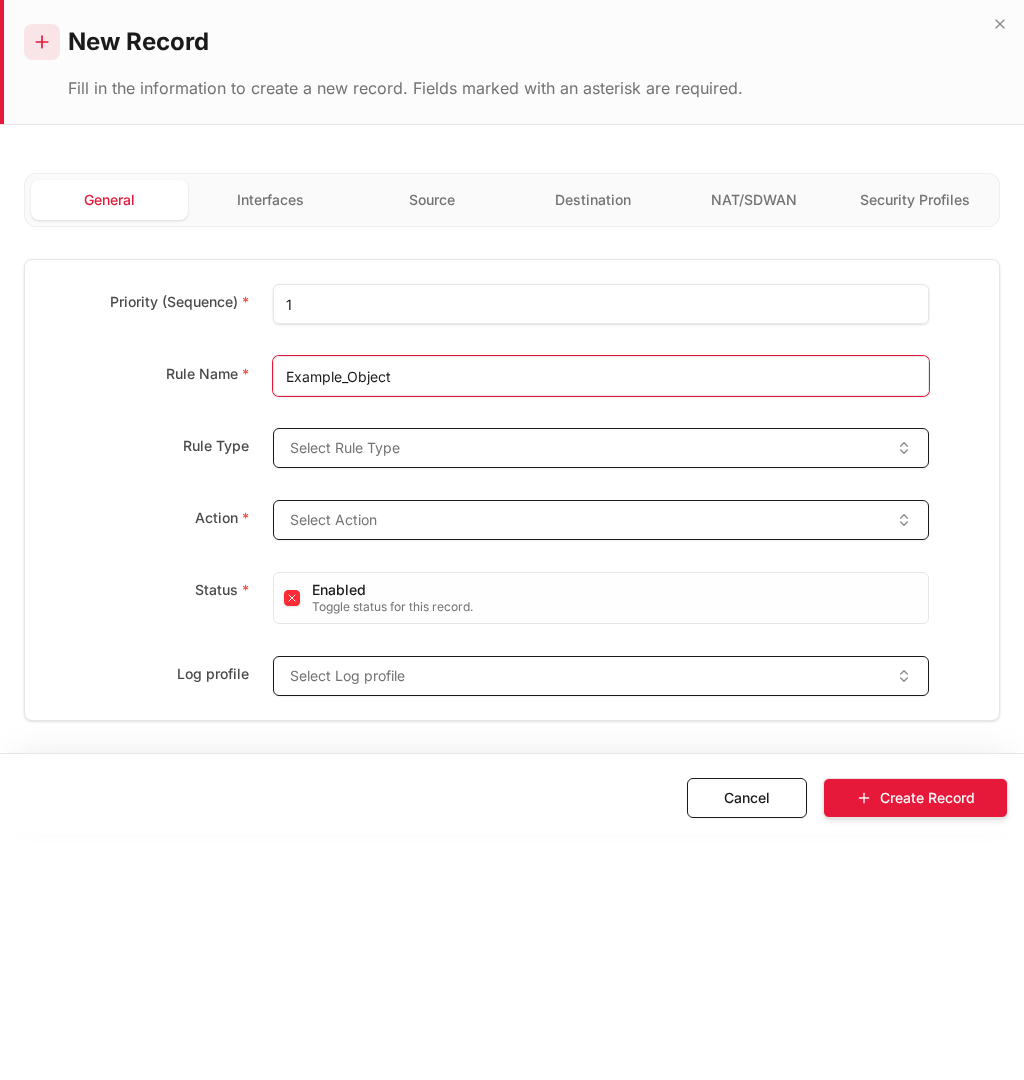
- Click + Create Record.
- Click Install Policy to apply rules to the running firewall.
Full rule field reference: Inline Rules
Step 5 — Verify connectivity
| Check | How | Expected result |
|---|---|---|
| LAN client IP | ip addr or ipconfig |
192.168.100.x from DHCP |
| Default gateway | Ping 192.168.100.1 |
Replies from firewall LAN |
| Internet | Ping 8.8.8.8 from LAN PC |
Success |
| DNS | nslookup google.com |
Resolves |
| NAT in logs | Logs & Events → Firewall Security | Flow shows LAN_to_Internet_NAT, result passed |
| SNAT address | Capture on WAN or check log src IP after NAT | Shows WAN IP, not 192.168.100.x |
Recommended rule order
Place the NAT allow rule above implicit deny but below any specific deny rules:
| Priority | Rule name | Purpose |
|---|---|---|
| 1 | Deny_Malware_Countries |
Optional GeoIP block |
| 2 | Allow_DNS |
Optional explicit DNS if needed |
| 3 | LAN_to_Internet_NAT |
Main internet access + SNAT |
| — | Implicit deny | Everything else blocked |
Security notes
- Do not expose the admin UI on the WAN interface.
- Add IPS and Web Security profiles to the rule for NGFW protection.
- Restrict outbound access with port objects if full internet access is not required.